Table of contents
Ask The App First
Autopilot has an AI support assistant named Wally built into the app and the website. It knows how the software works, it answers in a few seconds, and it beats scrubbing through a 30 minute video to find one setting.
Two places to find it:
- Mobile app: tap the menu icon in the top left corner, scroll to the bottom, and tap Support.
- Website: click the blue bubble in the bottom right corner of any screen.
Ask in your own words, the way you would ask a person. "How do I import clients?" "Why are my texts not sending?" "How do I send an invoice?" Wally answers and links the help article the answer came from.
If Wally cannot sort it out, the same window hands you to live chat with our team. You keep the conversation, so you never have to explain it twice.
How To Use This Page
The videos below are grouped in the order a new account works through them. Set up on a computer first, get approved for texting, then learn the day to day job flow. Marketing comes last, once you have customers in the system.
Every video opens in a new tab, so you keep your place here. If you only have time for one, watch the full walkthrough. It is chaptered, so you can jump straight to the part you need.
Start Here
Two long videos and two short ones. Watch the web setup video before you touch the mobile app, because several settings can only be changed on a computer.
 Full Autopilot Walkthrough3 hr 11 minThe entire platform in one sitting: signup, A2P registration, every settings page, jobs, clients, invoices, estimates, online booking, the phone system, and reports. Chaptered, so treat it as a reference and skip to what you need.
 Set Up Your Account On The Web32 minSignup, the onboarding questions, and every setting worth touching before your first job. Do this one at a computer. Inviting employees, building the pricebook, and messaging approval all live on the website.
 Set Up And Use The Mobile App18 minSigning up on the phone, turning on notifications, and finding your way around: dashboard, schedule, map, jobs, clients, invoices. Pull down on any screen to refresh it.
 Mobile App Walkthrough21 minA slower tour of every screen in the app, then a full job from the truck: change the status to on my way, add items, take payment, and send the invoice from your phone.
Set Up Before Your First Job
Messaging approval is the one that trips people up, and it takes a few days to clear, so start it now. The rest you can knock out in an afternoon.
 Get Approved For Messaging (A2P 10DLC)7 minThe government registration you have to clear before Autopilot can text your customers. Your business name and EIN must match your IRS paperwork exactly, not your state LLC filing and not a DBA, or you get declined and have to start over.
 Create Your Business Phone Numbers4 minSet up a main line for your automated texts, then add tracking numbers for yard signs, Google Ads, or anything else you want to measure. Calls forward to whatever phone you already carry, and the call report shows which number is actually bringing in work.
 Customize Your Text Notifications5 minRewrite the automatic texts a customer gets when the job is booked, when you are on your way, when it is finished, and when it is cancelled. The finished text is where your Google review link goes, and writing it in your own voice gets you more reviews than the default.
 Set Up Your Pricebook8 minBuild your categories and items once, full truckload, hazardous waste, 20 yard dumpster, so adding them to a job takes two taps instead of typing a price at every stop. The same items can feed your online booking form.
 Connect Stripe To Take Card Payments3 minConnecting takes about ten minutes and lets customers pay an invoice from their phone with a card or Apple Pay, tip included. The money goes through Stripe into your bank and the invoice marks itself paid.
 Import Your Clients4 minBring your customer list over from Workiz, Jobber, Housecall Pro, or a plain spreadsheet by matching your CSV columns to Autopilot fields. Old job history does not import on its own, so message support if you need that moved.
Take Bookings From Your Website
You can link customers straight to your booking form, or drop it inside your own site. Embedding works about the same on Wix, Squarespace, Webflow, and WordPress, so the Duda video covers the idea for all of them. Ask Wally if you get stuck on your platform.
 Set Up Online Booking12 minEvery setting on the booking form: what details you require, how much notice you need, slot length, arrival windows, double booking, and whether a booking lands as confirmed or pending. Also covers putting pricebook items on the form for dumpster rentals and flat rate work.
 Embed The Booking Form On Your Website9 minCopy the embed code, drop it into an HTML block, and set the iframe to 100% height and width so it fills the space instead of floating in a corner. Then fix the phone view, which is the step most people skip.
Run A Job Start To Finish
This is the loop you repeat every day. Marking jobs complete and logging what you charged is what makes your analytics real, so do it on the truck instead of saving it for Sunday.
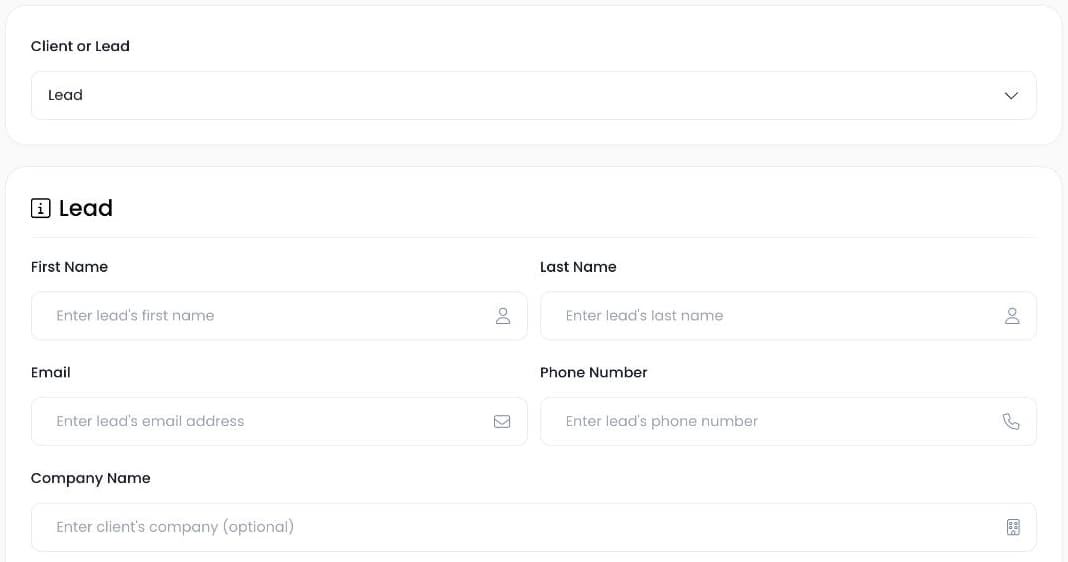
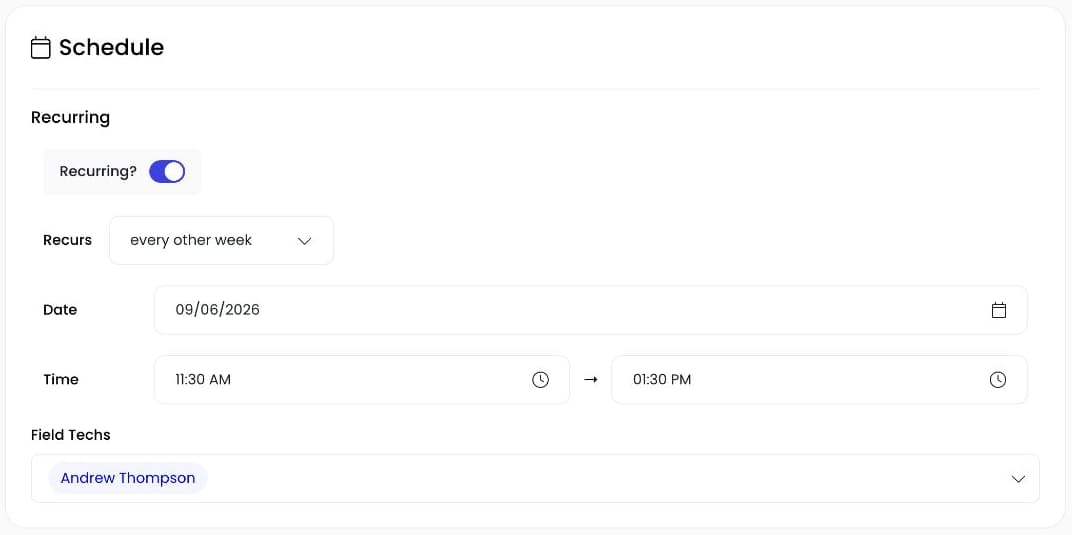
 Create A Job5 minFive ways to add a job, plus the fields that pay off later. Lead source tells you where the work came from, and tags let you pull a report on anything you want to track, like which jobs needed a skid steer.
 Add Items And Take Payment8 minAdd what you charged to the job, mark it finished, then log the payment and the tip. Split payments and offline card readers both work. Skip this step and your average job size stays at zero no matter how much you actually made.
 Send An Invoice5 minGenerate an invoice from a finished job and send it by text, email, or both. The customer gets a PDF plus a web page where they can add a tip and pay by card or Apple Pay. You can also create an invoice with no job attached.
 Use The Time Clock2 minCrews clock in and out from their phones. Editing a time card, deleting a bad one, or adding the shift somebody forgot to clock is admin only and has to be done on the website.
Marketing Tools
Blasts only work if your list is your own. Text people who have hired you or asked you for a quote, not a cold list you bought or scraped, or the carriers will shut your number off.
 Send A Text Blast4 minPick clients or leads, narrow it down by tag, write the message with a first name variable, and send. You can exclude tags too, so anyone marked do not contact stays out of it.
 Text Blast Best Practices7 minSend marketing from a separate number so your main line stays clean, check your list for blank names before you use a first name variable, and expect no more than 1,200 messages a day. Andrew also recommends blasting no more than once a quarter.
 Send An Email Blast4 minSame filters as a text blast, plus a drag and drop editor for images, headers, and dividers. Plain text emails are less likely to land in spam, so start there before you build anything fancy.
Find more Autopilot guides on Google
Add Autopilot as a preferred source to see more of our latest advice in Google Search and AI results.